
In these days a lot of our cell phones integrate convenient features such as the capability to capture a screenshot. With a screen size of 6″ and a resolution of 720 x 1280px, the iNew U9 Plus from iNew assures to take high quality images of the best instant of your life.
For a screenshot of trendy apps such as Twitter , Facebook, Discord,… or for one email, the task of making screenshot on the iNew U9 Plus working with Android 5.0 Lollipop is without question extremely simple. In fact, you have the choice among two general options. The first one takes advantage of the basic equipment of your iNew U9 Plus. The second method is going to make you employ a third-party software, accredited, to make a screenshot on your iNew U9 Plus. Let’s experience the first method
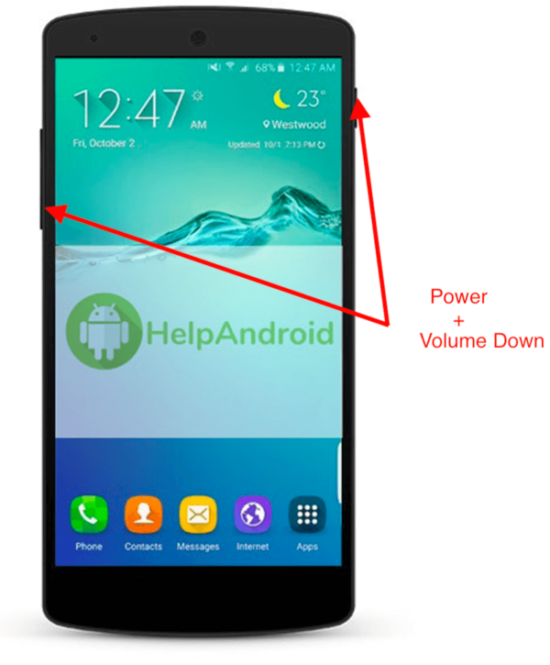
The best way to generate a manual screenshot of your iNew U9 Plus
- Look at the screen that you expect to record
- Press simultaneously the Power and Volum Down key
- The iNew U9 Plus just realized a screenshoot of the screen
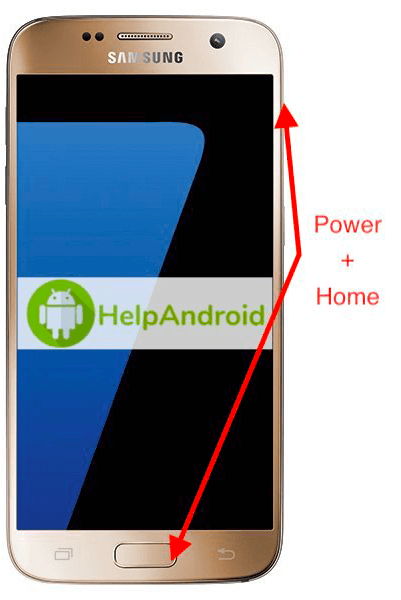
However, if your iNew U9 Plus do not possess home button, the method is as below:
- Press simultaneously the Power and Home key
- Your iNew U9 Plus just did a perfect screenshot that you are able show by email or social media.
- Super Screenshot
- Screen Master
- Touchshot
- ScreeShoot Touch
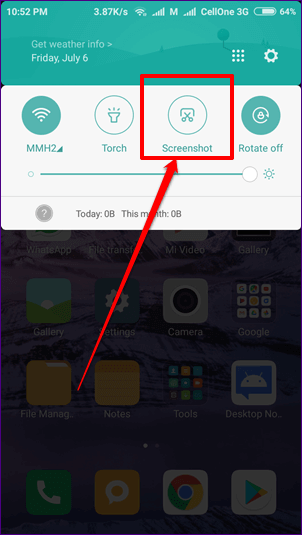
- Hold on the power button of the iNew U9 Plus until you watch a pop-up menu on the left of the screen or
- Check out the screen you want to capture, swipe down the notification bar to experience the screen beneath.
- Tick Screenshot and voila!
- Check out your Photos Gallery (Pictures)
- You have a folder titled Screenshot
How to take a screenshot of your iNew U9 Plus using third party apps
In cases where you prefer to take screenshoots with third party apps on your iNew U9 Plus, it’s possible!! We selected for you one or two really good apps that you’re able to install. No need to be root or some shady manipulation. Download these apps on your iNew U9 Plus and take screenshots!


Extra: Assuming that you are able to update your iNew U9 Plus to Android 9 (Android Pie), the method of capturing a screenshot on the iNew U9 Plus is going to be much more straight forward. Google chose to make easier the procedure like that:
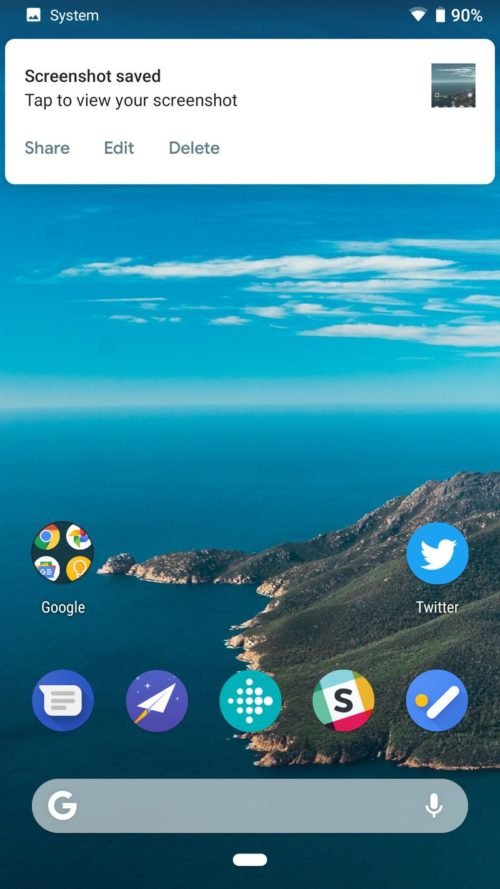
At this point, the screenshot taken with your iNew U9 Plus is saved on a distinctive folder.
Following that, it is easy to publish screenshots realized on your iNew U9 Plus.
More ressources for the iNew brand and iNew U9 Plus model
Source: Screenshot Google