
Right now our cell phones have great functionalities such as the capability to take a screenshot. Along with a display size of 5.5″ and a resolution of 720 x 1280px, the Blackview Alife P1 Pro from Blackview guarantees to record high quality photos of the best instant of your existence.
Just for a screenshot of famous apps like Snapchat, Viber, Linkedin,… or for one email, the task of shooting screenshot on your Blackview Alife P1 Pro using Android 5.0 Lollipop is certainly very simple. The truth is, you have the choice between two standard options. The first one takes advantage of the regular items of your Blackview Alife P1 Pro. The second option will have you implement a third-party software, reliable, to create a screenshot on your Blackview Alife P1 Pro. Let’s discover the first method
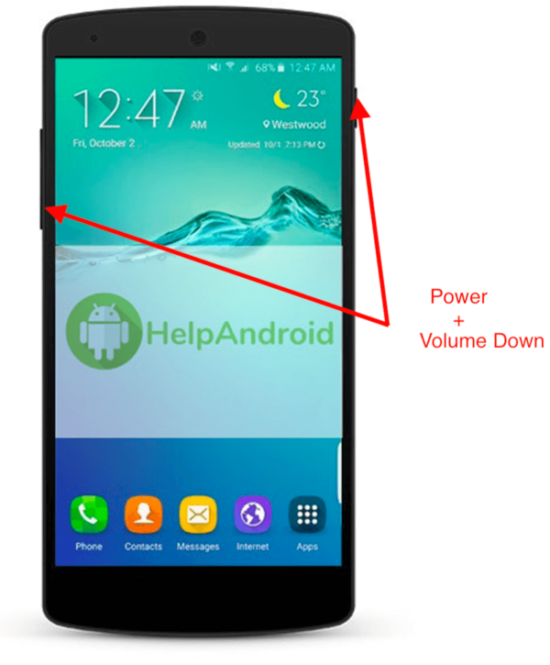
Methods to make a manual screenshot of your Blackview Alife P1 Pro
- Head over to the screen that you’d like to record
- Press synchronously the Power and Volum Down button
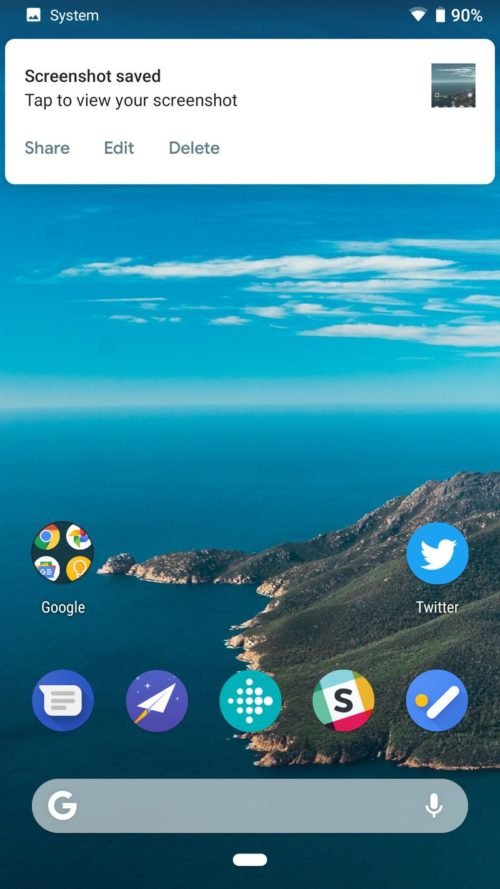
- Your amazing Blackview Alife P1 Pro easily made a screenshoot of your display
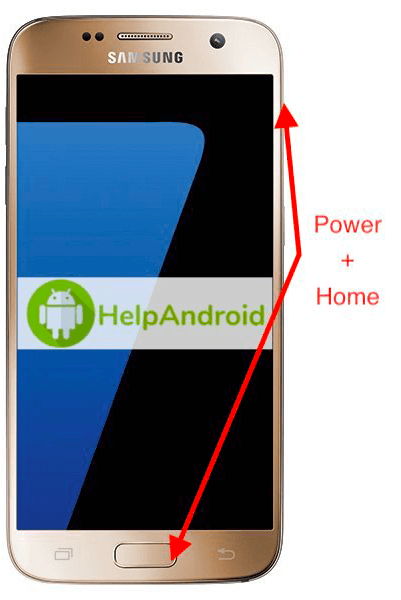
In the case that your Blackview Alife P1 Pro do not possess home button, the approach is the following:
- Press synchronously the Power and Home button
- The Blackview Alife P1 Pro just made an excellent screenshot that you are able share by mail or social media.
- Super Screenshot
- Screen Master
- Touchshot
- ScreeShoot Touch
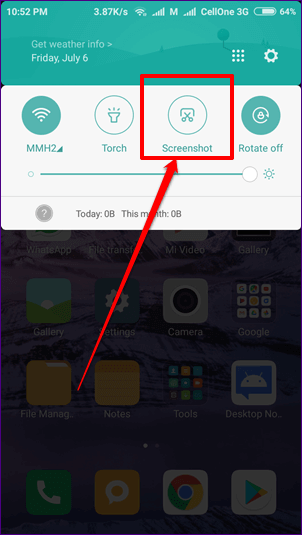
- Hold on the power button of the Blackview Alife P1 Pro right until you watch a pop-up menu on the left of the display screen or
- Head to the display screen you choose to to shoot, swipe down the notification bar to find out the screen below.
- Tap Screenshot and and there you go!
- Head to your Photos Gallery (Pictures)
- You have a folder labeled Screenshot
How to take a screenshot of your Blackview Alife P1 Pro with third party apps
In the event that you choose to capture screenshoots thanks to third party apps on your Blackview Alife P1 Pro, it’s possible!! We selected for you some really good apps that you’re able to install. There is no need to be root or some sketchy manipulation. Use these apps on your Blackview Alife P1 Pro and capture screenshots!


Extra: In the case that you can upgrade your Blackview Alife P1 Pro to Android 9 (Android Pie), the process of capturing a screenshot on the Blackview Alife P1 Pro has become incredibly more smooth. Google decided to ease the procedure like this:
At this moment, the screenshot taken with your Blackview Alife P1 Pro is kept on a special folder.
After that, you can publish screenshots realized on your Blackview Alife P1 Pro.
More ressources for the Blackview brand and Blackview Alife P1 Pro model
Source: Screenshot Google