
Ordinarily, smartphone brands like Vivo impose limits to prevent you from doing certain tasks. It truly is annoying, you can reckon. To fight the limits of the manufacturer, you can find a simple solution named Root.
What is root and why should I root my Vivo NEX S?

If you want to have entire power of the Vivo NEX S, the best solution will be to root it. In clear words, this implies that you are going to end up as a powerful administrator of your Vivo NEX S. Keep in mind though, the producer impose software limits to prevent you from making dumb acts. In the event that your smartphone is rooted, you can lock it by executing bad commands. By using a rooted Vivo NEX S, you should be capable of:
- Maximize the efficiency of your Vivo NEX S by overcloacking the CPU
- Maximize the battery life of your Vivo NEX S
- Install / uninstall some obligatory applications
- Pimp out your Vivo NEX S along with the ROM of your choosing
Warning if you want to root your Vivo NEX S
Understand even if making root your Vivo NEX S has a lot of pros, we must warn you about the hazards that implies. Consequently, you actually can brick your Vivo NEX S, end the warranty of your Vivo NEX S, generate security fails on the Vivo NEX S and ultimately not having the ability to make use of certain applications on your Vivo NEX S.
What to do before rooting my Vivo NEX S?
As we have seen, rooting your Vivo NEX S surely is not a trivial process. We advise using (it is obligatory) a copy of your Vivo NEX S. You should preserve the data of the Vivo NEX S on your pc (PC / Mac) if it includes backup software. If in doubt, upload the backup to Google Drive, Dropbox, …
Before getting started to root your Vivo NEX S, you will need to make sure that it really is fully charged. (you can actually let it with the power wire, it can be more sure). After that, you need to head out to the settings of the Vivo NEX S to turn on USB Debugging and OEM unlocking.
Manually root your Vivo NEX S
You can also manually root your Vivo NEX S. The method is in fact a little more difficult compared to the applications shown in the next paragraphs. Go to XDA Developers forum and then seek out the Vivo NEX S. You can find all the facts to manually root your Vivo NEX S.
Root your Vivo NEX S with software/apps
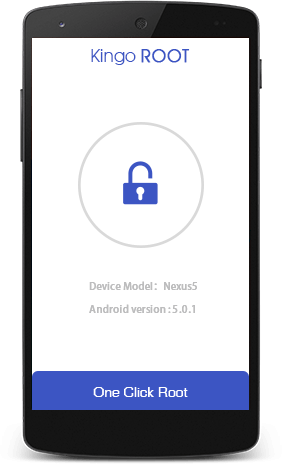
Root your Vivo NEX S with Kingo Root
To root your Vivo NEX S with Kingo Root, it is truly painless. Download the software on the Vivo NEX S and then press Root. If everything happens good, the Kingo Root app is going to root the Vivo NEX S. If you encounter any problems, install Kingo Root on your computer, connect your Vivo NEX S and follow the guidelines.
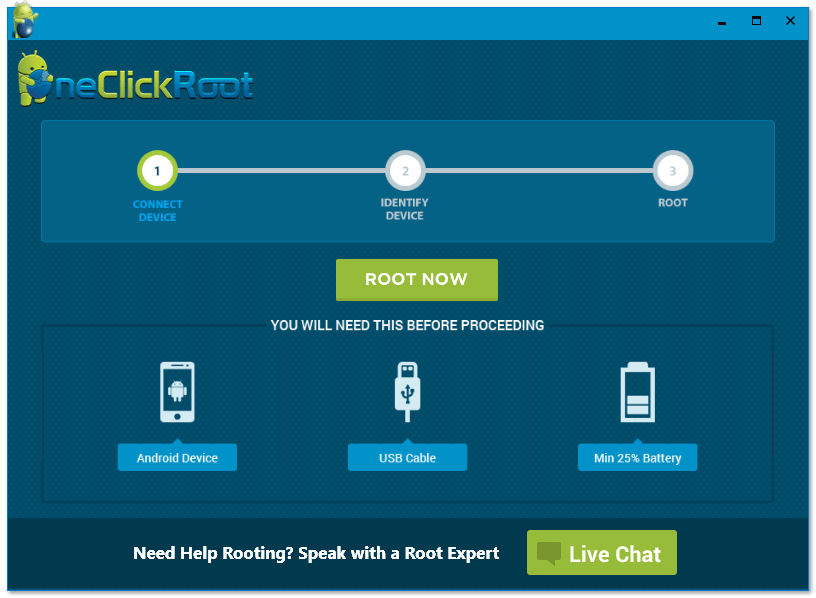
Root your Vivo NEX S with One Click Root
Rooting your Android smartphone using One Click Root is without question trouble-free. You need to check if the Vivo NEX S is recognized by the software (Check here). In this case, install the One Click Root on your computer (PC / Mac) (Download here). Connect your Vivo NEX S to your computer with the USB cable. Let One Click Root help you to root your smartphone.
How unroot your Vivo NEX S?
If you do not want to make use of a root version of the Vivo NEX S, note that you may undo the modification.
Go to Download SuperSU. Open the SuperSU program, head to settings and press on Full Unroot. From there, the Vivo NEX S will no further be rooted.
As reviewed in this article, rooting the Vivo NEX S comes with a lot of benefits but remains a dangerous procedure. Use the reviewed softwares conscientiously or you are likely to finish with an unusable Vivo NEX S.