
Generally , smartphone creators such as UMiDIGI force limitations to avoid you from achieving certain act. It truly is annoying, you might believe. To combat with the constraints of the manufacturer, you can find an easy process called Root.
What is root and why should I root my Umidigi One?
In the event that you desire to take entire control of your Umidigi One, the only option ıs going to be to root it. In clear terms, it indicates that you will change into a powerful administrator of your Umidigi One. Be warned though, the company force application limits to prevent you from accomplishing dumb things. Whenever your smartphone is rooted, you can lock it by executing crappy operations. By using a rooted Umidigi One, you should be able to:
- Maximize the performance of your Umidigi One by overcloacking the CPU
- Maximize the battery life of your Umidigi One
- Install / uninstall specific obligatory applications
- Pimp out your Umidigi One with the ROM of your choice
Be careful if you decide to root your Umidigi One
Be aware that regardless if making root your Umidigi One has a lot of perks, we must warn you about the risks that entails. As a consequence, you can even brick your Umidigi One, cancel the warranty of your Umidigi One, generate security breaches on your Umidigi One and lastly not being in position to use specific applications on your Umidigi One.
What to do before rooting my Umidigi One?
As we have seen, rooting your Umidigi One is not a simple process. We would suggest (it really is obligatory) a backup of your Umidigi One. You can preserve the information of your Umidigi One on your computer (PC / Mac) if it has got backup program. If you are afraid, duplicates the backup to Google Drive, Dropbox, …
Prior to preparing to root your Umidigi One, you will need to ensure that it really is entirely loaded. (you should keep it with the power cord, it can be more secure). Subsequently, you need to head out to the options of your Umidigi One to activate USB Debugging and OEM unlocking.
Manually root your Umidigi One
You can actually manually root your Umidigi One. The technique is a little more challenging compared to the applications detailed in the next paragraphs. Check out XDA Developers forum and look for your Umidigi One. You should find all the information to manually root your Umidigi One.
Root your Umidigi One with software/apps
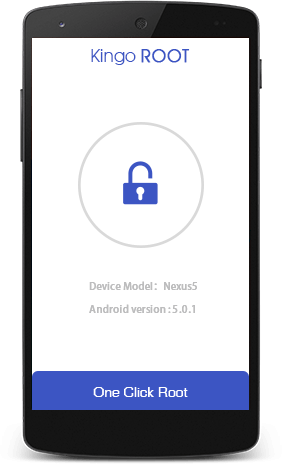
Root your Umidigi One with Kingo Root
To root your Umidigi One with Kingo Root, it is actually truly convenient. Download the software on your Umidigi One and then click on Root. In the instance that all proceeds well, the Kingo Root app will definitely root your Umidigi One. In the instance that you face any difficulties, install Kingo Root on your pc, connect your Umidigi One and stick to the instructions.
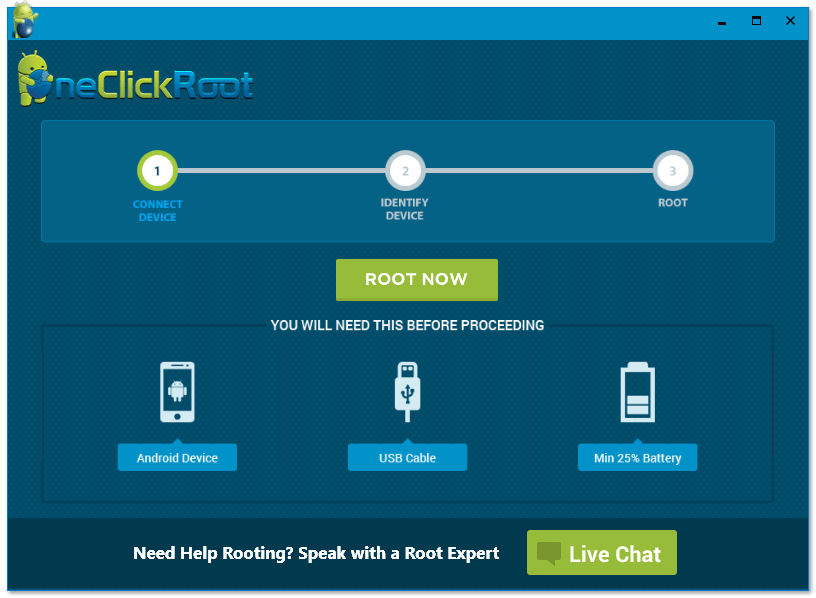
Root your Umidigi One with One Click Root
Rooting your Android smartphone using One Click Root is going to be simplistic. You must check if your Umidigi One is supported by the application (Check here). If that is so, install the One Click Root on your computer (PC / Mac) (Download here). Connect your Umidigi One to your personal computer thanks to the USB cable. Allow One Click Root show you to root your smartphone.
How unroot your Umidigi One?
In the instance that you do not want to use a root variant of your Umidigi One, note that you may cancel the changes.
Go to Download SuperSU. Start the SuperSU software, go to settings and press on Full Unroot. From there, your Umidigi One will no longer be rooted.
As reviewed in this post, rooting your Umidigi One has a lot of features but is still a uncertain technique. Use the reviewed programs cautiously or you are likely to end up with an useless Umidigi One.