
Usually, smartphone manufacturers like UMiDIGI force limits to keep you from doing some maneuver. It is boring, you can believe. To fight against the restrictions of the maker, you can find an effective solution identified as Root.
What is root and why should I root my UMIDIGI A3?

If you desire to take complete control of your UMIDIGI A3, the sole solution ıs going to be to root it. In clear terms, this implies that you are going to end up as a super administrator of your UMIDIGI A3. Be careful though, the producer force application restrictions to stop you from doing crazy acts. Assuming your smartphone is rooted, you can brick it by executing dangerous commands. With a rooted UMIDIGI A3, you should be capable of:
- Maximize the speed of your UMIDIGI A3 by overcloacking the CPU
- Maximize the battery life of your UMIDIGI A3
- Install / uninstall specified required apps
- Modify your UMIDIGI A3 along with the ROM of your choosing
Alert if you want to root your UMIDIGI A3
Realize that even if making root your UMIDIGI A3 includes numerous pros, we have to alert you about the danger that entails. As a result, you actually can brick your UMIDIGI A3, cancel the warranty of your UMIDIGI A3, create security breaches on your UMIDIGI A3 and ultimately not being allowed to use several apps on your UMIDIGI A3.
What to do before rooting my UMIDIGI A3?
As we have seen, rooting your UMIDIGI A3 is definitely not a simple task. We recommend (it really is mandatory) a backup of your UMIDIGI A3. You can preserve the data of your UMIDIGI A3 on your personal pc (PC / Mac) if it includes data backup software. If in doubt, upload the data backup to Google Drive, Dropbox, …
Just before starting to root your UMIDIGI A3, you will need to ensure that it really is totally loaded. (you should leave it with the power wire, it is better). Subsequently, you have to go to the settings of your UMIDIGI A3 to enable USB Debugging and OEM unlocking.
Manually root your UMIDIGI A3
You can manually root your UMIDIGI A3. The process is a bit more challenging compared to the apps mentioned beneath. Head to XDA Developers forum and simply seek out your UMIDIGI A3. You will get all the information to manually root your UMIDIGI A3.
Root your UMIDIGI A3 with software/apps
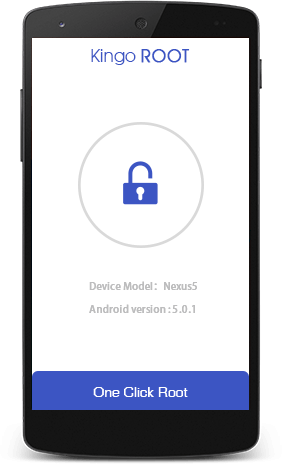
Root your UMIDIGI A3 with Kingo Root
To root your UMIDIGI A3 with Kingo Root, it truly is truly simple. Download the application on your UMIDIGI A3 and then hit Root. In the event that everything proceeds well, the Kingo Root app will definitely root your UMIDIGI A3. In the event that you may have some problems, install Kingo Root on your computer, connect your UMIDIGI A3 and go along with the suggestions.
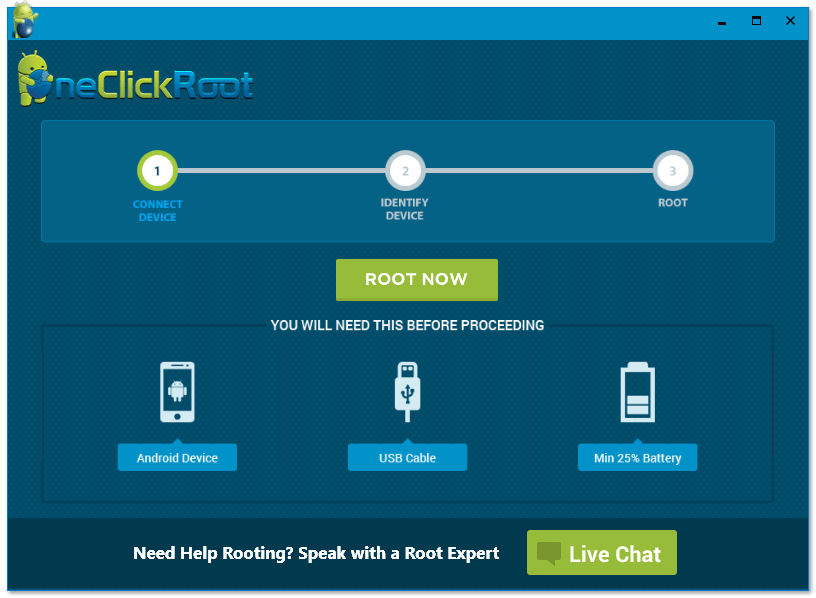
Root your UMIDIGI A3 with One Click Root
Rooting your Android smartphone using One Click Root is simple. You need to check if your UMIDIGI A3 is recognized by the application (Check here). In this case, install the One Click Root on your computer (PC / Mac) (Download here). Connect your UMIDIGI A3 to your computer thanks to the USB cable. Allow One Click Root show you how to root your smartphone.
How unroot your UMIDIGI A3?
In the event that you decide to not use a root version of your UMIDIGI A3, note that you are able to reverse the modification.
You should go Download SuperSU. Start the SuperSU program, go to settings and click on Full Unroot. After that, your UMIDIGI A3 will no further be rooted.
As mentioned in this document, rooting your UMIDIGI A3 comes with numerous features but continues to be a hazardous technique. Use the different programs wisely or you could finish with an unusable UMIDIGI A3.