
By default, mobile phone companies like UMiDIGI force limitations to stop you from performing some act. It really is boring, you might believe. To deal with the restrictions of the producer, there is a simple technique called Root.
What is root and why should I root my UMIDIGI A1 Pro?
Whenever you wish to get entire control of the UMIDIGI A1 Pro, the sole choice is actually to root it. In concrete terms, this suggests that you are going to end up as a super administrator of your UMIDIGI A1 Pro. Beware though, the maker force application rules to stop you from doing foolish acts. Whenever your smartphone is rooted, you can make it unusable by executing damaging actions. Using a rooted UMIDIGI A1 Pro, you will be capable to:
- Increase the overall performance of your UMIDIGI A1 Pro by overcloacking the CPU
- Increase the battery life of your UMIDIGI A1 Pro
- Install / uninstall specific required applications
- Modify your UMIDIGI A1 Pro with the ROM of your taste
Alert if you decide to root your UMIDIGI A1 Pro
Understand regardless if making root your UMIDIGI A1 Pro includes a lot of pros, we have to tell you when it comes to the potential risks that implies. As a consequence, you can brick your UMIDIGI A1 Pro, cancel the warranty of your UMIDIGI A1 Pro, provoke security fails on the UMIDIGI A1 Pro and then finally not being able to make use of several applications on your UMIDIGI A1 Pro.
What to do before rooting my UMIDIGI A1 Pro?
Thus, rooting your UMIDIGI A1 Pro is not a simple technique. We advise using (it is obligatory) a backup of your UMIDIGI A1 Pro. You can keep the data of the UMIDIGI A1 Pro on your personal pc (PC / Mac) if it includes backup program. If you are afraid, duplicates the backup to Google Drive, Dropbox, …
Before starting to root your UMIDIGI A1 Pro, you must be sure that it is actually completely charged. (you can even keep it with the power cord, it is more sure). After that, you will have to go to the settings of the UMIDIGI A1 Pro to enable USB Debugging and OEM unlocking.
Manually root your UMIDIGI A1 Pro
You may manually root your UMIDIGI A1 Pro. The technique can be a bit more challenging compared to the applications shown down below. Check out XDA Developers forum and search for the UMIDIGI A1 Pro. You should discover all the strategies to manually root your UMIDIGI A1 Pro.
Root your UMIDIGI A1 Pro with software/apps
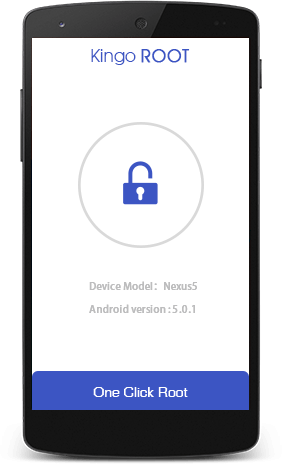
Root your UMIDIGI A1 Pro with Kingo Root
To root your UMIDIGI A1 Pro with Kingo Root, it is incredibly simple. Install the application on the UMIDIGI A1 Pro and click on Root. In the instance that everything happens well, the Kingo Root app will root the UMIDIGI A1 Pro. In the instance that you face any difficulties, install Kingo Root on your computer, connect your UMIDIGI A1 Pro and go along with the recommendations.
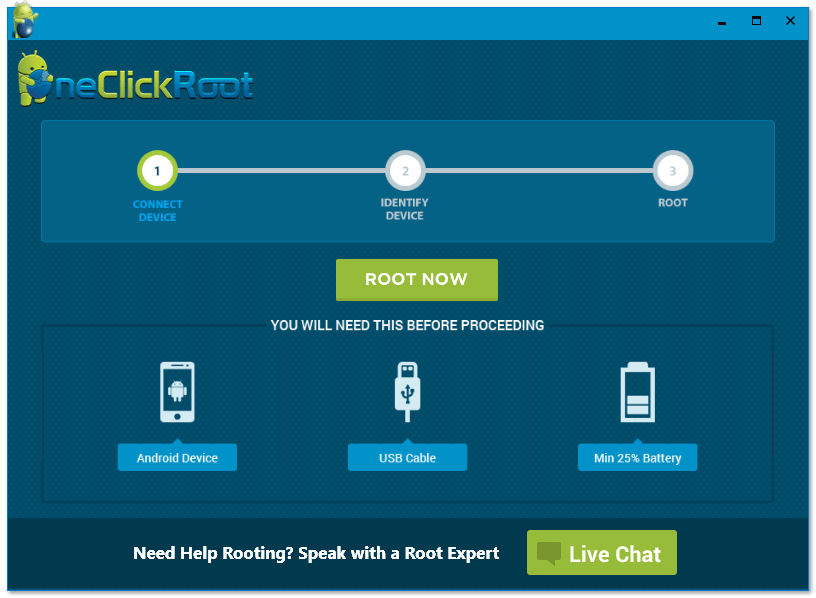
Root your UMIDIGI A1 Pro with One Click Root
Rooting your Android smartphone with One Click Root is without question convenient. Make sure you verify if the UMIDIGI A1 Pro is supported by the application (Check here). If so, install the One Click Root on your computer (PC / Mac) (Download here). Connect your UMIDIGI A1 Pro to your computer thanks to the USB cable. Allow One Click Root show you to root your smartphone.
How unroot your UMIDIGI A1 Pro?
In the instance that you do not want to make use of a root variant of the UMIDIGI A1 Pro, note that you may undo the changes.
To make it simple, Download SuperSU. Open the SuperSU program, go to settings and press on Full Unroot. From there, the UMIDIGI A1 Pro will no further be rooted.
As pointed out in this post, rooting the UMIDIGI A1 Pro comes with a lot of perks but remains a uncertain procedure. Use the different applications wisely or you are likely to end up with an useless UMIDIGI A1 Pro.