
Usually, smartphone creators like iNew put limits to keep you from accomplishing certain tasks. It is exasperating, you may reckon. To fight the restrictions of the producer, there is a simple method called Root.
What is root and why should I root my iNew U9 Plus?

In the event that you wish to have absolute power of the iNew U9 Plus, the best method will be to root it. In concrete terms, this suggests that you can expect to become a powerful administrator of your iNew U9 Plus. Beware though, the maker put application rules to restrict you from doing crazy actions. If it turns out your smartphone is rooted, you can lock it by making dangerous actions. Having a rooted iNew U9 Plus, you should be capable to:
- Maximize the overall performance of your iNew U9 Plus by overcloacking the CPU
- Maximize the battery life of your iNew U9 Plus
- Install / uninstall specific mandatory apps
- Pimp out your iNew U9 Plus with the ROM of your selection
Caution if you make the decision to root your iNew U9 Plus
Understand that whether or not making root your iNew U9 Plus features a lot of perks, we have to notify you on the subject of the risks that involves. Consequently, you can brick your iNew U9 Plus, end the warranty of your iNew U9 Plus, trigger security fails on the iNew U9 Plus and ultimately not having the ability to use some apps on your iNew U9 Plus.
What to do before rooting my iNew U9 Plus?
Therefore thus, rooting your iNew U9 Plus surely is not a trivial job. We would suggest (it truly is mandatory) a copy of your iNew U9 Plus. You can conserve the data of the iNew U9 Plus on your personal pc (PC / Mac) if it includes backup software. If in doubt, duplicates the backup to Google Drive, Dropbox, …
Before getting started to root your iNew U9 Plus, you need to be sure that it is actually completely charged. (you can even keep it with the electricity cable, it can be more secure). Afterward, you have to head out to the options of the iNew U9 Plus to enable USB Debugging and OEM unlocking.
Manually root your iNew U9 Plus
You can also manually root your iNew U9 Plus. The procedure is a little more complicated than you will have with the apps mentioned down below. Take a look at XDA Developers forum and simply try to find the iNew U9 Plus. You can get all the strategies to manually root your iNew U9 Plus.
Root your iNew U9 Plus with software/apps
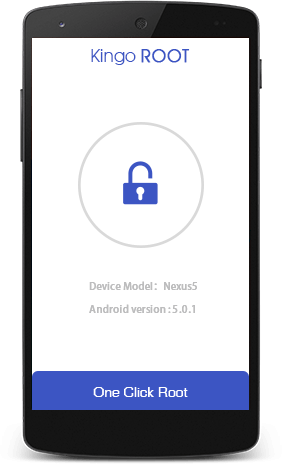
Root your iNew U9 Plus with Kingo Root
To root your iNew U9 Plus with Kingo Root, it really is incredibly simple. Install the software on the iNew U9 Plus and press Root. In the event that everything runs good, the Kingo Root app will root the iNew U9 Plus. In the event that you face any kind of complications, install Kingo Root on your pc, connect your iNew U9 Plus and go along with the instructions.
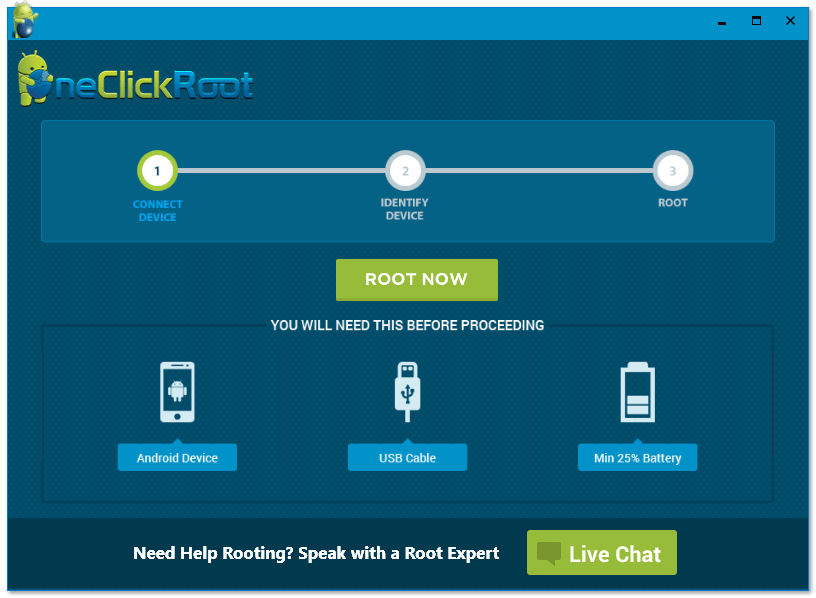
Root your iNew U9 Plus with One Click Root
Rooting your Android smartphone with One Click Root is going to be simplistic. You have to verify if the iNew U9 Plus is supported by the application (Check here). If so, install the One Click Root on your computer (PC / Mac) (Download here). Connect your iNew U9 Plus to your pc thanks to the USB cable. Let One Click Root show you how to root your smartphone.
How unroot your iNew U9 Plus?
In the event that you do not want to use a root version of the iNew U9 Plus, note that you are able to get rid of the changes.
To make it simple, Download SuperSU. Open the SuperSU program, head to settings and press on Full Unroot. After that, the iNew U9 Plus will no further be rooted.
As explained in this document, rooting the iNew U9 Plus provides a lot of perks but remains a unsafe process. Use the reviewed applications cautiously or you are going to finish with an useless iNew U9 Plus.