
Commonly, mobile phone creators like Blackview place limitations to avoid you from making specific maneuver. It truly is annoying, you may believe. To fight against the constraints of the manufacturer, you can find a simple option known as Root.
What is root and why should I root my Blackview BV8000 Pro?

In the event that you wish to take absolute power of your Blackview BV8000 Pro, the only option is definitely to root it. In concrete terms, this suggests that you will turned into a powerful administrator of your Blackview BV8000 Pro. Beware though, the manufacturer place software rules to restrict you from accomplishing stupid acts. Whenever your smartphone is rooted, you can lock it by making bad actions. Using a rooted Blackview BV8000 Pro, you will be able to:
- Enhance the speed of your Blackview BV8000 Pro by overcloacking the CPU
- Enhance the battery life of your Blackview BV8000 Pro
- Install / uninstall some mandatory apps
- Personalize your Blackview BV8000 Pro with the ROM of your choosing
Warning if you want to root your Blackview BV8000 Pro
Realize that regardless if rooting your Blackview BV8000 Pro includes a lot of pros, we need to alert you regarding the risks that entails. As a result, you can brick your Blackview BV8000 Pro, end the warranty of your Blackview BV8000 Pro, create security breaches on your Blackview BV8000 Pro and ultimately not being in position to make use of several apps on your Blackview BV8000 Pro.
What to do before rooting my Blackview BV8000 Pro?
Thus, rooting your Blackview BV8000 Pro is certainly not a superficial job. We would suggest (it really is necessary) a copy of your Blackview BV8000 Pro. You should keep the information of your Blackview BV8000 Pro on your pc (PC / Mac) if it includes backup software. If in doubt, make copies of the backup to Google Drive, Dropbox, …
Before start to root your Blackview BV8000 Pro, you must ensure that it is actually entirely loaded. (you can even keep it with the electricity cord, it is actually more secure). After that, you will have to head out to the options of your Blackview BV8000 Pro to enable USB Debugging and OEM unlocking.
Manually root your Blackview BV8000 Pro
You may manually root your Blackview BV8000 Pro. The method is probably a bit more complicated compared to the apps shown below. Go to XDA Developers forum and then seek out your Blackview BV8000 Pro. You should discover all the tips to manually root your Blackview BV8000 Pro.
Root your Blackview BV8000 Pro with software/apps
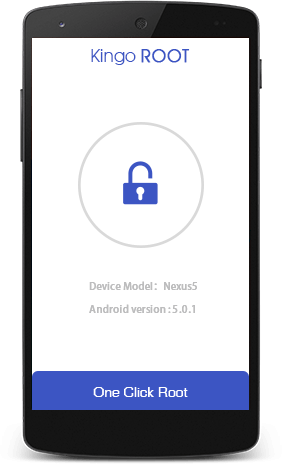
Root your Blackview BV8000 Pro with Kingo Root
To root your Blackview BV8000 Pro with Kingo Root, it really is truly painless. Install the app on your Blackview BV8000 Pro and then press Root. If all happens well, the Kingo Root app will root your Blackview BV8000 Pro. If you face any kind of problems, install Kingo Root on your computer, connect your Blackview BV8000 Pro and follow the guidelines.
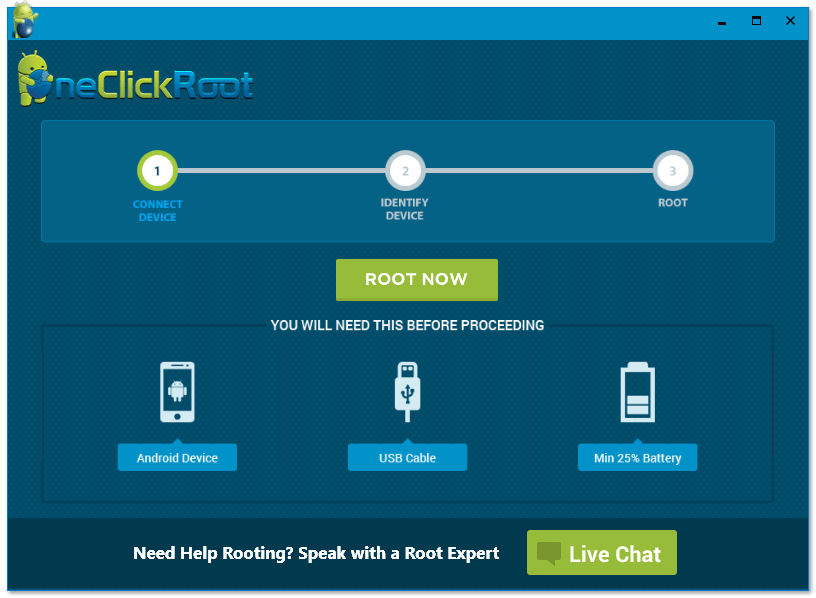
Root your Blackview BV8000 Pro with One Click Root
Rooting your Android smartphone with One Click Root is undoubtedly convenient. You must verify if your Blackview BV8000 Pro is recognized by the software (Check here). In this case, install the One Click Root on your computer (PC / Mac) (Download here). Connect your Blackview BV8000 Pro to your pc by way of the USB cable. Let One Click Root assist you to root your smartphone.
How unroot your Blackview BV8000 Pro?
If you do not want to make use of a root version of your Blackview BV8000 Pro, remember that you may reverse the changes.
Simply Download SuperSU. Open the SuperSU program, head to settings and click on Full Unroot. Following that, your Blackview BV8000 Pro will no further be rooted.
As mentioned in this post, rooting your Blackview BV8000 Pro provides a lot of benefits but is still a hazardous technique. Employ the reviewed programs cautiously or you will finish with an unusable Blackview BV8000 Pro.