
Usually, smartphone makers such as Blackview force restrictions to keep you from accomplishing specific maneuver. It is boring, you may believe. To fight the restrictions of the producer, you can find a simple solution known as Root.
What is root and why should I root my Blackview Alife S1?
In the event that you want to get full power of the Blackview Alife S1, the sole choice is definitely to root it. In tangible terms, this means that you are going to become a almighty administrator of your Blackview Alife S1. Keep in mind though, the producer force application restrictions to stop you from making dumb things. Whenever your smartphone is rooted, you can broke it by doing wrong tasks. With a rooted Blackview Alife S1, you will be able to:
- Improve the efficiency of your Blackview Alife S1 by overcloacking the CPU
- Improve the battery life of your Blackview Alife S1
- Install / uninstall specified obligatory apps
- Modify your Blackview Alife S1 along with the ROM of your pick
Caution if you make the decision to root your Blackview Alife S1
Be aware that even if rooting your Blackview Alife S1 features a lot of perks, we must tell you when it comes to the risks that entails. As a result, you can even brick your Blackview Alife S1, end the warranty of your Blackview Alife S1, cause security breaches on the Blackview Alife S1 and finally not having the ability to make use of particular apps on your Blackview Alife S1.
What to do before rooting my Blackview Alife S1?
As has been pointed out , rooting your Blackview Alife S1 surely is not a trivial technique. We would suggest (it really is obligatory) a backup of your Blackview Alife S1. You should preserve the information of the Blackview Alife S1 on your personal pc (PC / Mac) if it has got data backup software. If in doubt, make copies of the data backup to Google Drive, Dropbox, …
Prior to preparing to root your Blackview Alife S1, you will need to be sure that it is entirely charged. (you can even keep it with the power cord, it can be more secure). Thereafter , you have to head out to the options of the Blackview Alife S1 to enable USB Debugging and OEM unlocking.
Manually root your Blackview Alife S1
You can also manually root your Blackview Alife S1. The procedure can be a bit more difficult compared to the apps mentioned in the next paragraphs. Take a look at XDA Developers forum and do a search for the Blackview Alife S1. You can get all the facts to manually root your Blackview Alife S1.
Root your Blackview Alife S1 with software/apps
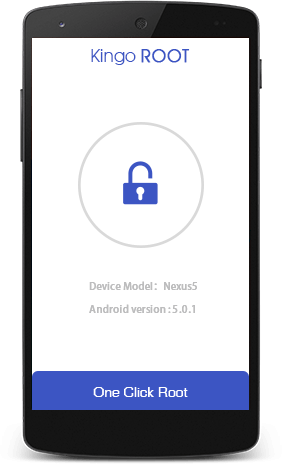
Root your Blackview Alife S1 with Kingo Root
To root your Blackview Alife S1 with Kingo Root, it is incredibly simple. Install the app on the Blackview Alife S1 and then hit Root. If all runs good, the Kingo Root app will definitely root the Blackview Alife S1. If you may have any kind of complications, install Kingo Root on your pc, connect your Blackview Alife S1 and stick to the instructions.
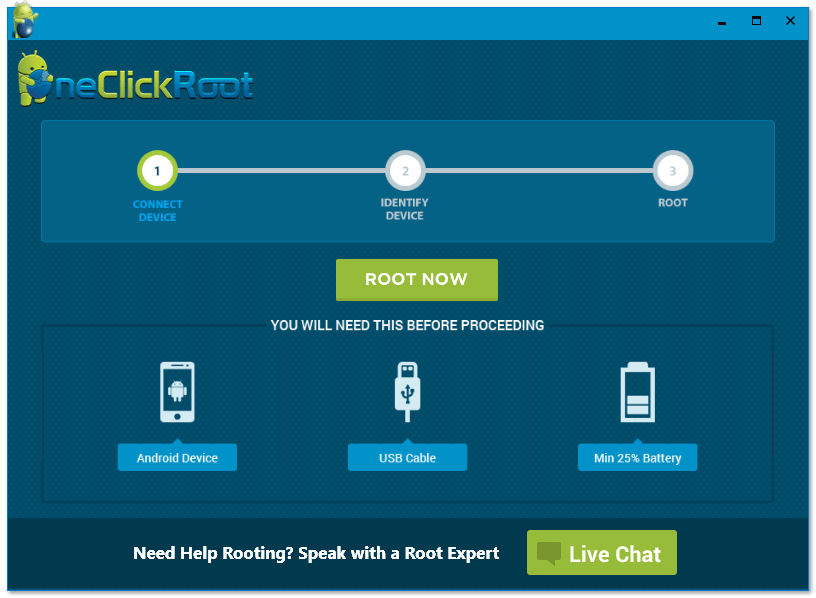
Root your Blackview Alife S1 with One Click Root
Rooting your Android smartphone with One Click Root is simplistic. You will need to check if the Blackview Alife S1 is recognized by the application (Check here). If so, install the One Click Root on your computer (PC / Mac) (Download here). Connect your Blackview Alife S1 to your computer by way of the USB cable. Allow One Click Root show you to root your smartphone.
How unroot your Blackview Alife S1?
If you do not want to make use of a root variant of the Blackview Alife S1, understand that you can cancel the manipulation.
Go to Download SuperSU. Open the SuperSU application, head to settings and click on Full Unroot. From there, the Blackview Alife S1 will no longer be rooted.
As reviewed in this post, rooting the Blackview Alife S1 has a lot of benefits but continues to be a dangerous technique. Consider the different applications cautiously or you are going to end up with an useless Blackview Alife S1.