
Commonly, smartphone producers such as Blackview impose limits to prevent you from performing special tasks. It can be painful, you may think. To combat with the limitations of the maker, you can find a simple method known as Root.
What is root and why should I root my Blackview A9 Pro?
Whenever you need to take entire control of the Blackview A9 Pro, the only method will be to root it. In clear terms, this suggests that you can expect to change into a almighty administrator of your Blackview A9 Pro. Take care though, the maker impose software rules to stop you from doing foolish acts. If your smartphone is rooted, you can lock it by executing dangerous commands. With a rooted Blackview A9 Pro, you will be in a position to:
- Improve the speed of your Blackview A9 Pro by overcloacking the CPU
- Improve the battery life of your Blackview A9 Pro
- Install / uninstall certain required apps
- Modify your Blackview A9 Pro with the ROM of your pick
Warning if you consider to root your Blackview A9 Pro
Understand even if rooting your Blackview A9 Pro includes numerous positive factors, we need to tell you regarding the hazards that implies. As a consequence, you can even brick your Blackview A9 Pro, end the warranty of your Blackview A9 Pro, create security breaches on the Blackview A9 Pro and finally not being allowed to make use of several apps on your Blackview A9 Pro.
What to do before rooting my Blackview A9 Pro?
As has been pointed out , rooting your Blackview A9 Pro is definitely not a simple job. We advise (it really is obligatory) a copy of your Blackview A9 Pro. You can actually keep the data of the Blackview A9 Pro on your laptop (PC / Mac) if it has got data backup software. If you are not sure , make copies of the data backup to Google Drive, Dropbox, …
Prior to start to root your Blackview A9 Pro, you will need to make sure that it really is completely charged. (you may let it with the power cable, it is more sure). Subsequently, you must head out to the settings of the Blackview A9 Pro to turn on USB Debugging and OEM unlocking.
Manually root your Blackview A9 Pro
You may manually root your Blackview A9 Pro. The procedure can be a bit more tough compared to the apps displayed in the next paragraphs. Take a look at XDA Developers forum and search for the Blackview A9 Pro. You will get all the tips to manually root your Blackview A9 Pro.
Root your Blackview A9 Pro with software/apps
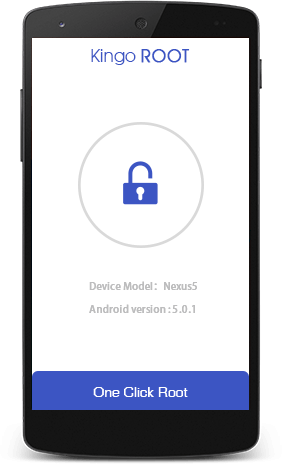
Root your Blackview A9 Pro with Kingo Root
To root your Blackview A9 Pro with Kingo Root, it really is extremely basic. Download the application on the Blackview A9 Pro and then hit Root. In the instance that all runs good, the Kingo Root app is going to root the Blackview A9 Pro. In the instance that you face any kind of problems, install Kingo Root on your pc, connect your Blackview A9 Pro and follow the suggestions.
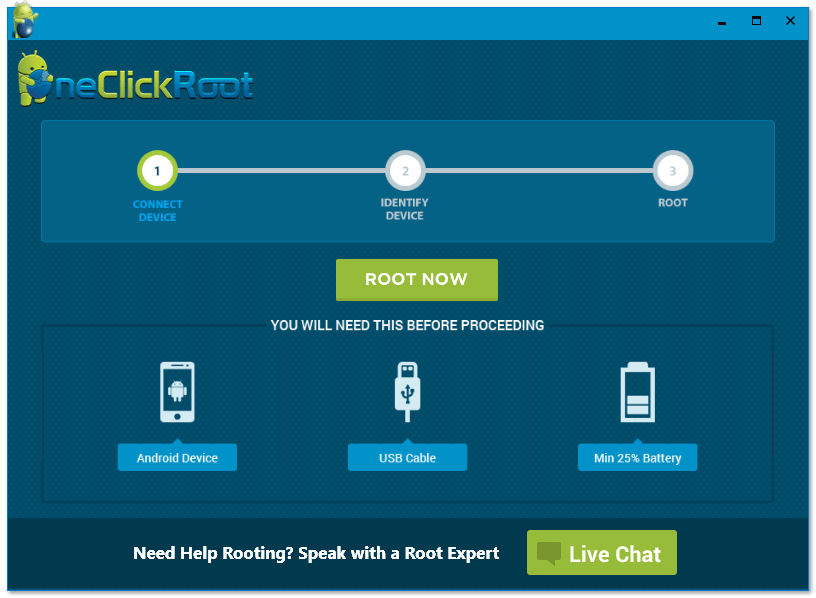
Root your Blackview A9 Pro with One Click Root
Rooting your Android smartphone with One Click Root is going to be user-friendly. Make sure you check if the Blackview A9 Pro is recognized by the software (Check here). If that is so, install the One Click Root on your computer (PC / Mac) (Download here). Connect your Blackview A9 Pro to your pc by way of the USB cable. Let One Click Root show you how to root your smartphone.
How unroot your Blackview A9 Pro?
In the instance that you decide to not make use of a root variant of the Blackview A9 Pro, note that you are able to reverse the modification.
Simply Download SuperSU. Open the SuperSU application, go to settings and click on Full Unroot. After that, the Blackview A9 Pro will no longer be rooted.
As reviewed in this post, rooting the Blackview A9 Pro has numerous perks but is still a hazardous solution. Use the reviewed applications carefully or you are likely to finish with an unusable Blackview A9 Pro.