
In case your Blackview Alife P1 Pro starts knowing issues, you should not worry! Just before you commence looking for fussy concerns in the Android os, you actually can check to do a Soft and Hard Reset of your Blackview Alife P1 Pro. This adjustment is usually relatively simple and may very well fix issues that can impact your Blackview Alife P1 Pro.
Just before running any one of the actions just below, remember that it truly is critical to create a backup of your Blackview Alife P1 Pro. Albeit the soft reset of the Blackview Alife P1 Pro does not lead to data loss, the hard reset is going to erase all of the data. Perform an entire backup of the Blackview Alife P1 Pro with its program or simply on the Cloud (Google Drive, DropBox, …)
We are going to begin with the soft reset of your Blackview Alife P1 Pro, the least difficult technique.

How to Soft Reset your Blackview Alife P1 Pro
The soft reset of the Blackview Alife P1 Pro is going to let you to take care of simple issues like a clogged apps, a battery that heats, a display that freeze, the Blackview Alife P1 Pro that becomes slow…
The process is quite simple:
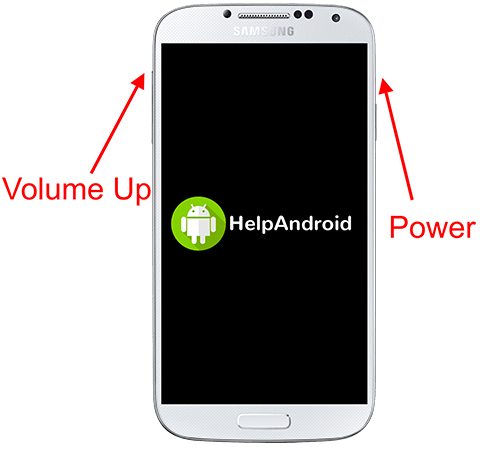
- Simultaneously push the Volume Down and Power button until the Blackview Alife P1 Pro restarts (about 20 seconds)
How to Hard Reset your Blackview Alife P1 Pro (Factory Settings)
The factory settings reset or hard reset is a bit more radical alternative. This method is going to remove all your data of the Blackview Alife P1 Pro and you can expect to find a cell phone as it is when it is manufactured. You should really backup your important documents like your photos, contacts, messages, movies, … in your computer or on the cloud like Google Drive, DropBox, … before commencing the hard reset operation of your Blackview Alife P1 Pro.
To retrieve all your info following the reset, you should save your data to your Google Account. For that, head over to:
- Settings -> System -> Advanced -> Backup
- Activate the backup
Once you finished the backup, all you should do is:
- System -> Advanced -> Reset options.
- Erase all data (factory reset) -> Reset phone
You have to enter your security code (or PIN) and now that it is completed, look for Erase Everything.
Your Blackview Alife P1 Pro is going to delete all your data. It will normally take a short time. Soon after the task is completed, the Blackview Alife P1 Pro should restart with factory setup.
More ressources for the Blackview brand and Blackview Alife P1 Pro model:
- How to block calls on Blackview Alife P1 Pro
- How to take screenshot on the Blackview Alife P1 Pro
- How to root Blackview Alife P1 Pro
About the Blackview Alife P1 Pro
The dimensions of the Blackview Alife P1 Pro is 78.0 mm x 155.0 mm x 8.8 mm (width x height x depth) for a net weight of 170 g. The screen offers a resolution of 720 x 1280px (HD) for a usable surface of 69%.
The Blackview Alife P1 Pro mobile phone works with one MediaTek MT6735M processor and one ARM Cortex-A53 (Quad-Core) with a 1 GHz clock speed. This mobile phone contains a 64-bit architecture processor.
Concerning the graphic part, the Blackview Alife P1 Pro takes advantage of ARM Mali-T720 MP4 graphics card with 2 GB. You’ll be able to employ 16 GB of memory.
The Blackview Alife P1 Pro battery is Li-Ion type with a full charge capacity of 3000 mAh amperes. The Blackview Alife P1 Pro was launched on July 2015 with Android 5.0 Lollipop
A problem with the Blackview Alife P1 Pro? Contact the support: