
Usually, mobile phone makers just like NO.1 force constraints to avoid you from performing specific act. It happens to be annoying, you might think. To fight against the limits of the manufacturer, there is a simple solution called Root.
What is root and why should I root my No.1 M2?

In the event that you want to get entire power of the No.1 M2, the best method is definitely to root it. In tangible terms, this implies that you will change into a almighty administrator of your No.1 M2. Beware though, the company force application rules to stop you from making dumb actions. Whenever your smartphone is rooted, you can lock it by doing lousy tasks. Having a rooted No.1 M2, you should be allowed to:
- Boost the performance of your No.1 M2 by overcloacking the CPU
- Boost the battery life of your No.1 M2
- Install / uninstall particular obligatory apps
- Customize your No.1 M2 with the ROM of your choosing
Warning if you make the decision to root your No.1 M2
Be aware that whether or not making root your No.1 M2 has a lot of benefits, we must tell you when it comes to the hazards that implies. Thus, you may brick your No.1 M2, end the warranty of your No.1 M2, trigger security breaches on the No.1 M2 and finally not being able to make use of some apps on your No.1 M2.
What to do before rooting my No.1 M2?
As has been pointed out , rooting your No.1 M2 is certainly not a simple process. We recommend (it really is obligatory) a copy of your No.1 M2. You can preserve the information of the No.1 M2 on your pc (PC / Mac) if it has got data backup program. If you are afraid, do not hesitate to copy the data backup to Google Drive, Dropbox, …
Just before start to root your No.1 M2, you must be sure that it really is completely charged. (you can actually keep it with the power wire, it is actually more sure). Thereafter , you must go to the options of the No.1 M2 to enable USB Debugging and OEM unlocking.
Manually root your No.1 M2
You can actually manually root your No.1 M2. The technique can be a little more tough than you will have with the apps detailed in the next paragraphs. Take a look at XDA Developers forum and then seek out the No.1 M2. You will discover all the facts to manually root your No.1 M2.
Root your No.1 M2 with software/apps
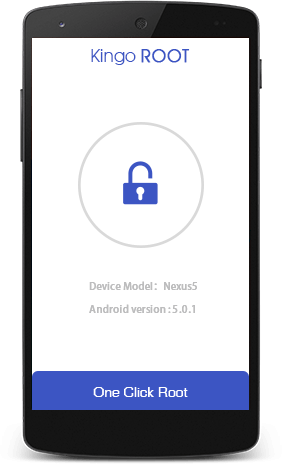
Root your No.1 M2 with Kingo Root
To root your No.1 M2 with Kingo Root, it is actually extremely simple. Install the application on the No.1 M2 and then hit Root. If everything happens good, the Kingo Root app will root the No.1 M2. If you face any kind of complications, install Kingo Root on your pc, connect your No.1 M2 and stick to the guidelines.
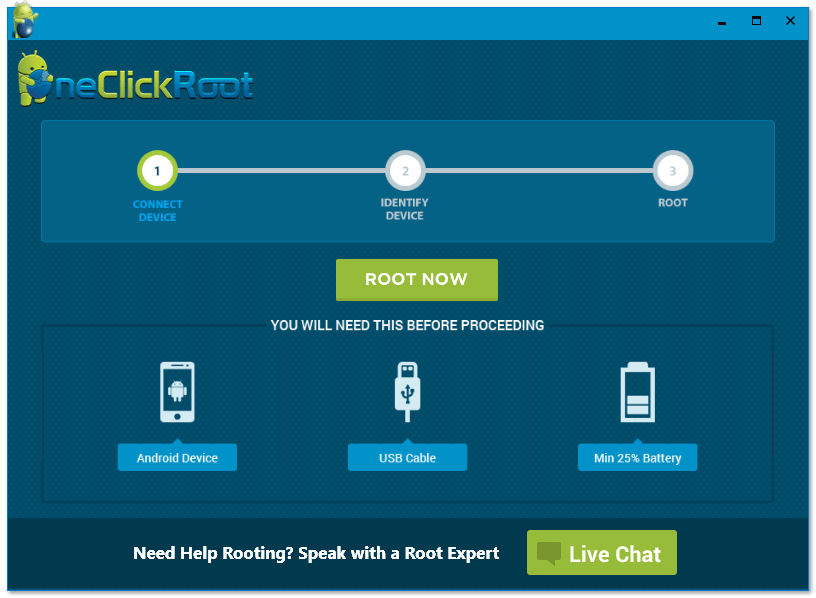
Root your No.1 M2 with One Click Root
Rooting your Android smartphone using One Click Root is going to be trouble-free. You have to check if the No.1 M2 is supported by the application (Check here). If so, install the One Click Root on your computer (PC / Mac) (Download here). Connect your No.1 M2 to your pc by way of the USB cable. Allow One Click Root show you how to root your smartphone.
How unroot your No.1 M2?
If you decide to not make use of a root variant of the No.1 M2, keep in mind that you may get rid of the modification.
Simply Download SuperSU. Open the SuperSU software, go to settings and press on Full Unroot. From there, the No.1 M2 will no further be rooted.
As discussed in this document, rooting the No.1 M2 has a lot of perks but continues to be a hazardous process. Use the different programs conscientiously or you can expect to end up with an unusable No.1 M2.